Free course · updated for 2026
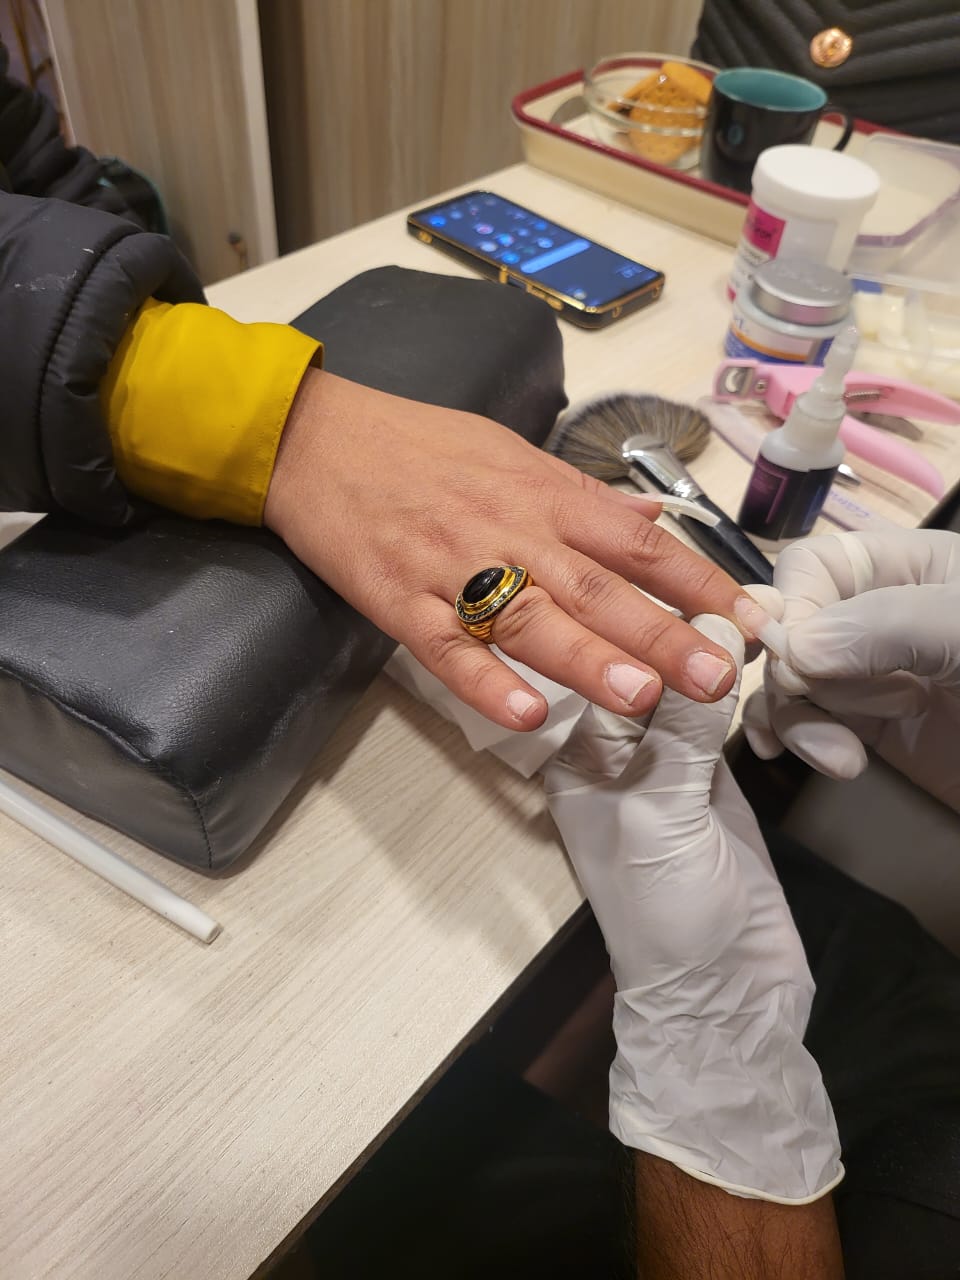
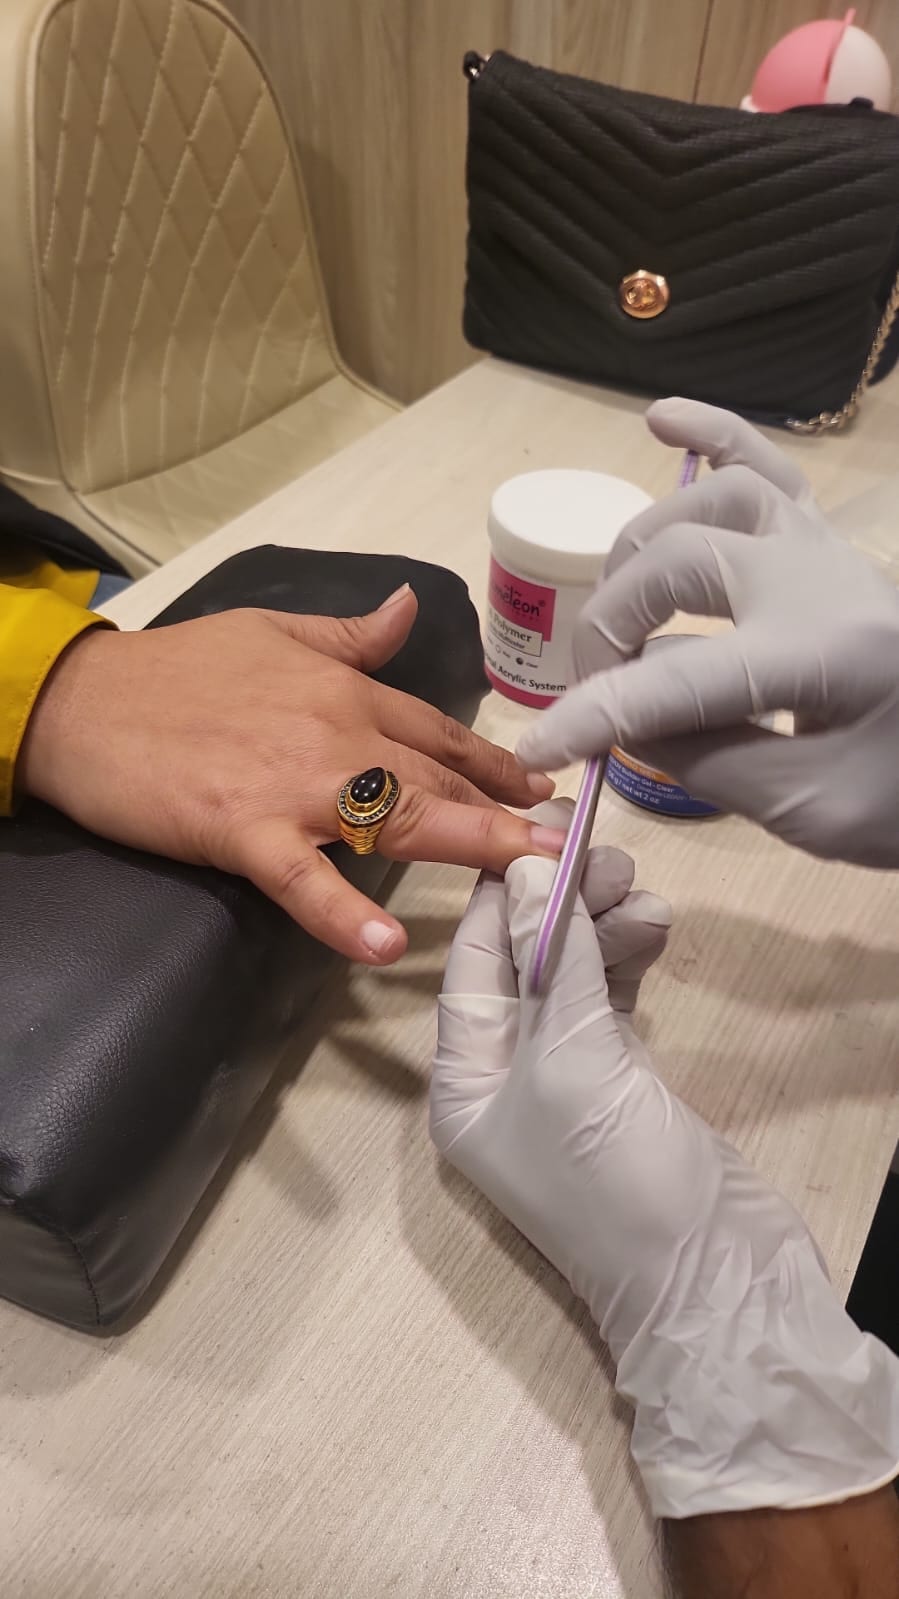
This is a free theory course for anyone who wants to understand nail extensions before paying for training: nail anatomy, tools, tips and forms, prep, gel, acrylic and polygel, curing, nail art, safety and troubleshooting. Theory gives you the why. To work on clients you will still need supervised practice on real hands.
Why learn nail extensions?
- Steady demand: extensions, refills and art bring clients back every two to three weeks.
- A low-cost start compared with most beauty skills: a kit, a lamp and a table.
- Several paths: salon technician, freelance or home studio, or your own nail bar.
- Room to grow: advanced art, bridal sets and 3D work command premium prices.
Module 1
Nail anatomy
Every safe set starts with knowing what you are working on, and what you must not damage.
- Nail plate
- The hard, visible nail made of keratin layers. Over-filing thins it and causes pain and breakage.
- Nail bed
- The skin under the plate. Its blood supply gives the nail its pink colour.
- Matrix
- Hidden under the skin at the base, it makes new nail cells. Damage here can deform the nail permanently.
- Lunula
- The pale half-moon at the base of some nails: the visible edge of the matrix.
- Cuticle and eponychium
- The cuticle is dead tissue that sticks to the plate and must be removed before product goes on. The eponychium is the living skin fold above it and should not be cut.
- Sidewalls
- The skin folds along each side of the nail. Product touching them causes lifting.
- Smile line and free edge
- The smile line is where the pink nail bed meets the white free edge, the part that grows beyond the finger. French tips follow it.
- Hyponychium
- The skin seal under the free edge that keeps infection out. Never dig under it.
Module 2
Tools and products
A professional kit is small but every item has a job.
- Files and buffers
- Coarse grits (100–150) shape enhancements, 180 refines, 240 and finer is for the natural nail and finishing. Never use a coarse file on a natural nail.
- Cuticle pusher and nippers
- To lift and remove cuticle from the plate. Nippers trim hangnails only, not living skin.
- Dust brush
- Clears filing dust so product bonds and the client does not inhale it.
- Dehydrator and primer
- The dehydrator removes oil and moisture; an acid-free primer helps product grip the natural nail.
- Tips, forms and glue
- Plastic tips glued on, or paper/metal forms to sculpt length without a tip.
- Gel system
- Base gel, builder gel for strength and length, colour gel and a top coat, all cured under a lamp.
- Acrylic system
- Liquid monomer and polymer powder mixed on a sable brush. It air-cures, no lamp needed.
- Polygel
- A thick gel-acrylic hybrid shaped with a slip solution and cured under a lamp. Lighter than acrylic, popular for natural sets.
- LED/UV lamp
- Cures gel products. Use the lamp the product brand recommends.
- Cuticle oil
- Finishes every service and is the main aftercare product you sell.
Module 3
Tips or forms
There are two ways to add length: glue a tip and overlay it, or sculpt on a form.
- Full-well tips
- Have a deep contact area that must be blended away after gluing. Good for beginners and short-natural nails.
- Half-well and well-less tips
- Smaller or no contact area, so less blending and a thinner finish.
- Full-cover tips
- Pre-shaped tips that cover the whole nail, glued or bonded with gel. Fast, popular for soft gel sets.
- Sculpting on forms
- A form sits under the free edge and product is built out to length. More skill, but the strongest and most natural result.
- Sizing
- A tip must fit sidewall to sidewall. Too wide lifts and pinches; too narrow cracks at the sides. Size each finger separately.
Module 4
Nail preparation
Most lifting comes from poor prep, not poor product.
- Sanitise
- Clean your hands and the client's, and check the nails for infection, broken skin or lifting from another salon.
- Cuticle work
- Push back and remove all cuticle from the nail plate. Leftover cuticle under product is the commonest cause of lifting.
- Remove shine
- Lightly buff with a 180–240 file. You are removing shine, not thinning the nail.
- Dust off and dehydrate
- Brush away dust, then apply dehydrator. Do not touch the nail with fingers after this.
- Prime
- Acid-free primer on the natural nail only, kept off the skin.
Module 5
Applying and blending tips
A clean tip is a thin, invisible transition.
- Glue
- Use a small, even amount in the well. Too much floods the sidewalls and traps bubbles.
- Rock it on
- Place the tip against the free edge at about 45° and rock it down to push air out. Hold for a few seconds.
- Check alignment
- Straight from the front and the side. Fix a crooked tip before it sets.
- Cut and blend
- Cut to length with a tip cutter, then file the well flush with the natural nail until no line shows.
Module 6
Structure and nail shapes
Strength comes from where the product sits, not how much of it there is.
- Apex
- The highest point of the enhancement, over the stress area where the nail leaves the finger. Without an apex, nails snap there.
- Thin zones
- Keep product thin at the cuticle and at the free edge so the nail looks natural.
- C-curve
- The arch across the free edge, seen end on. A good C-curve adds strength and looks refined.
- Shapes
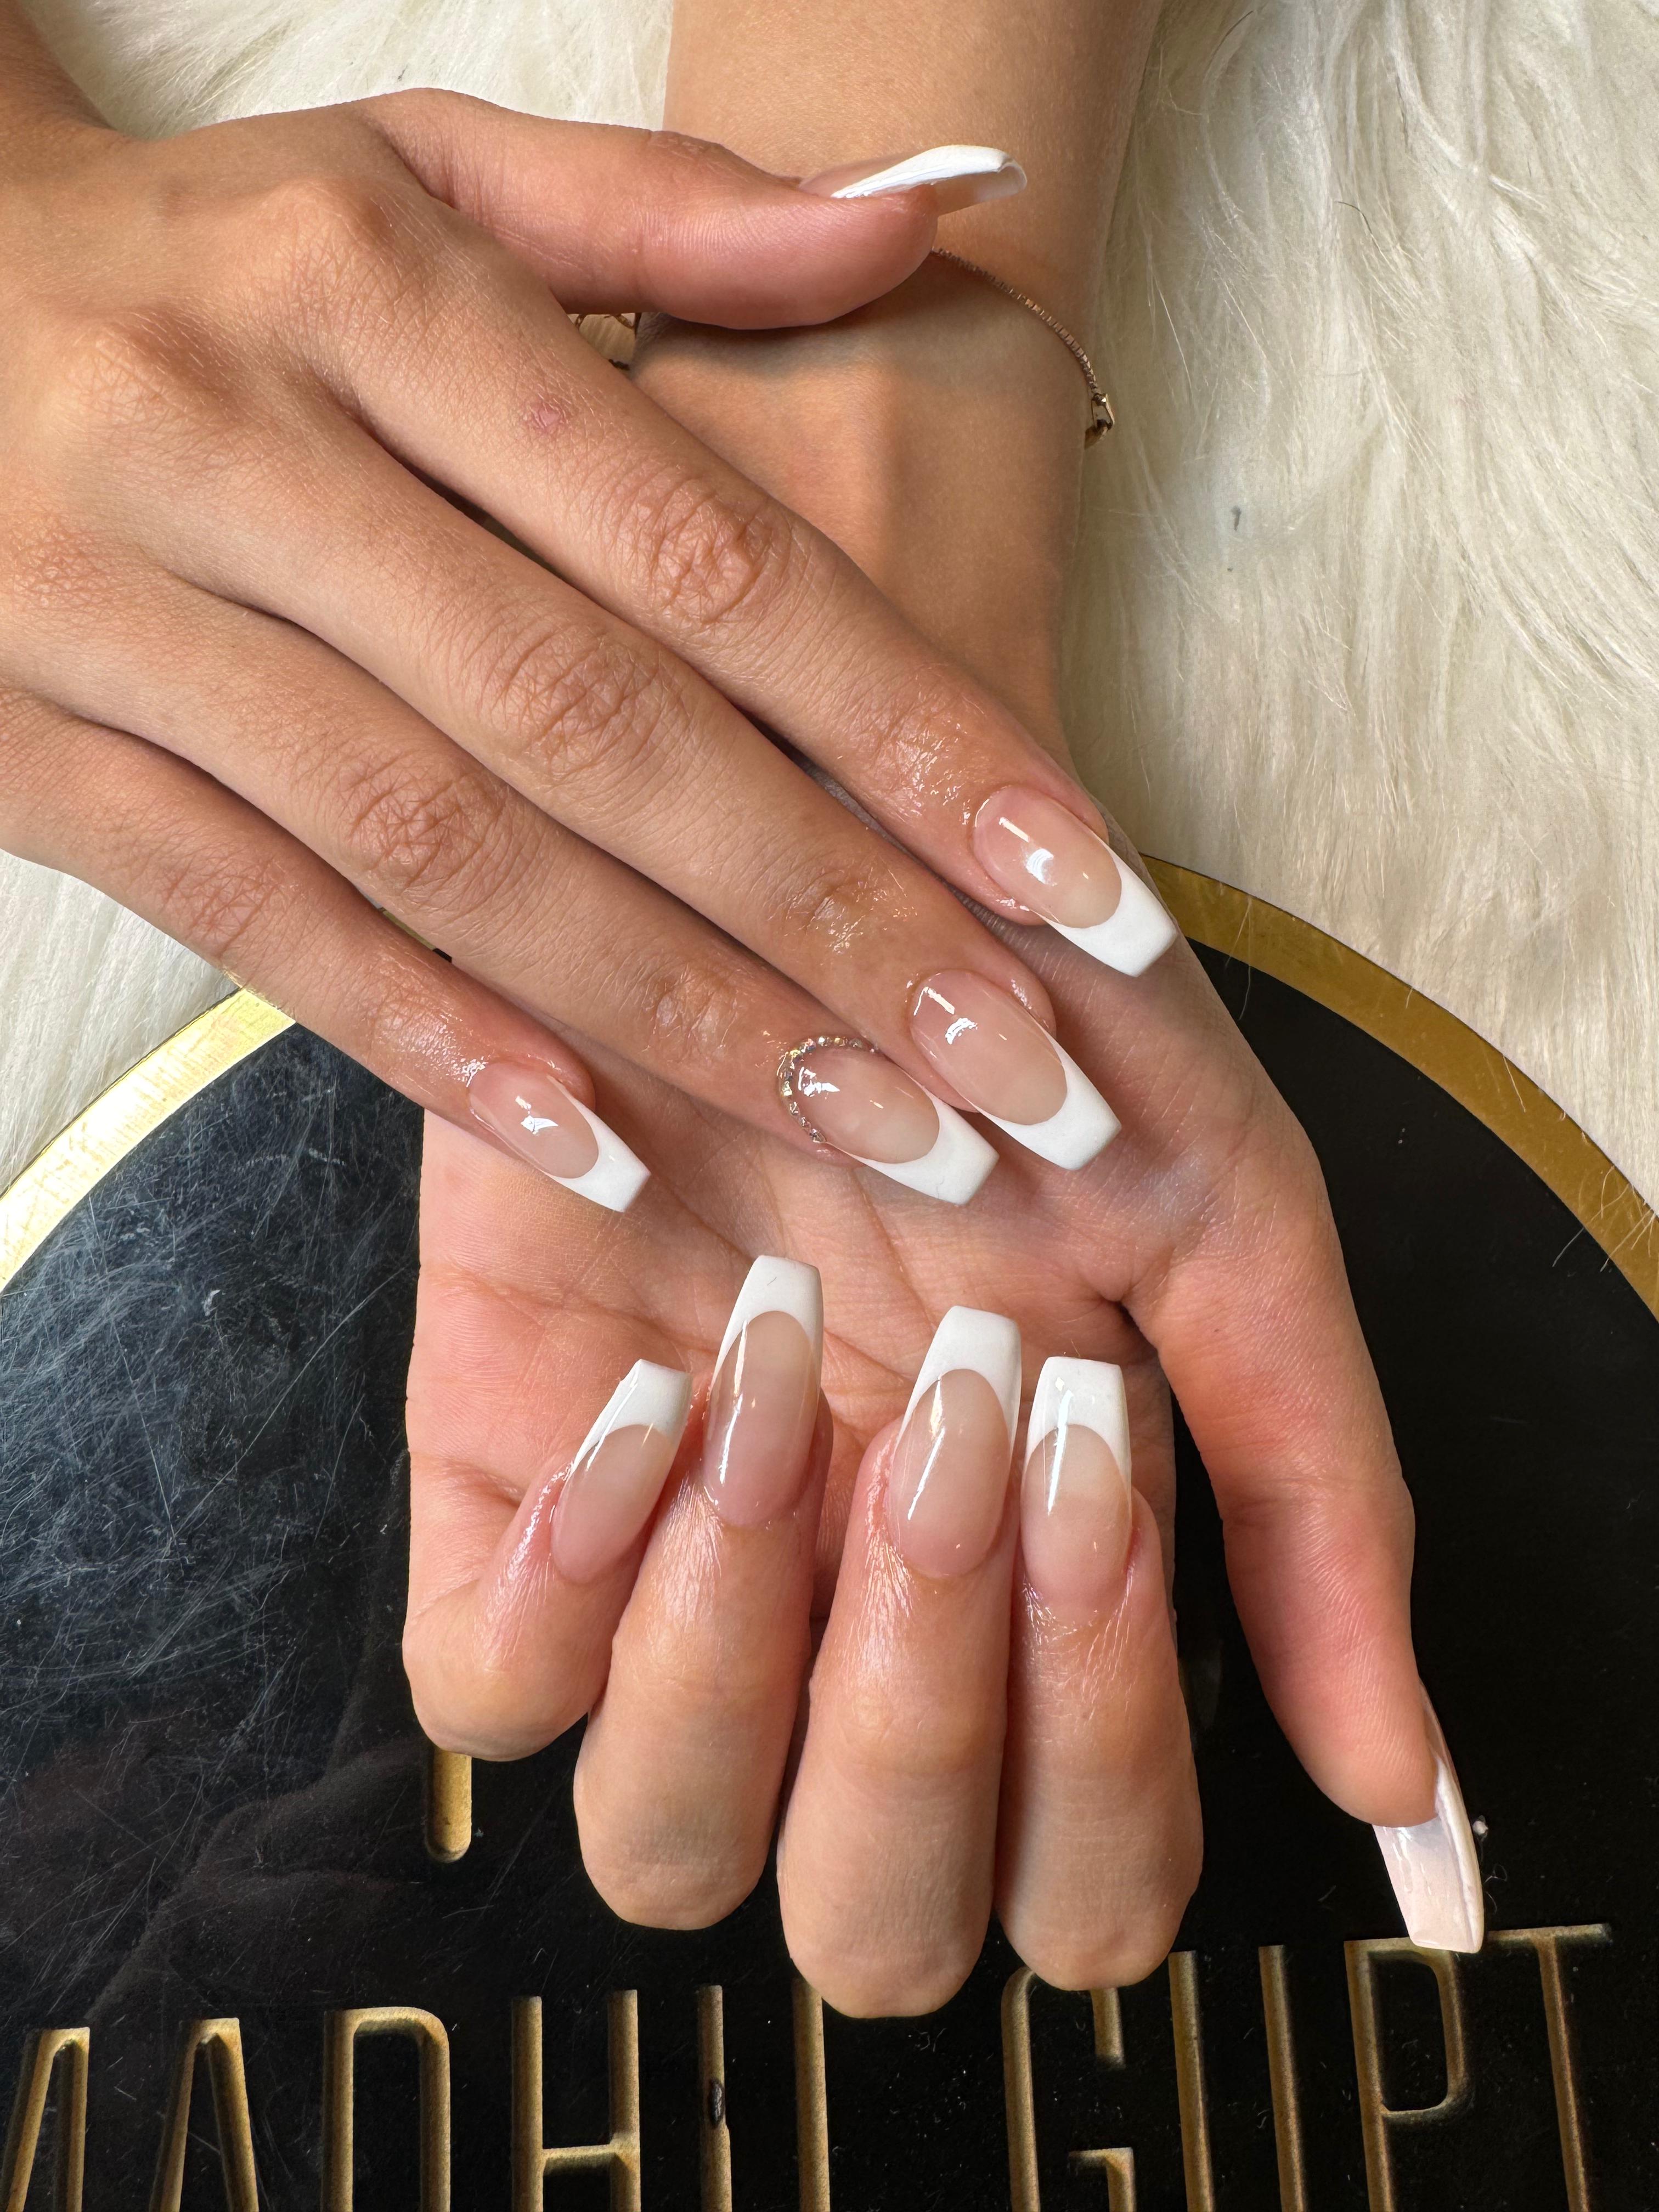
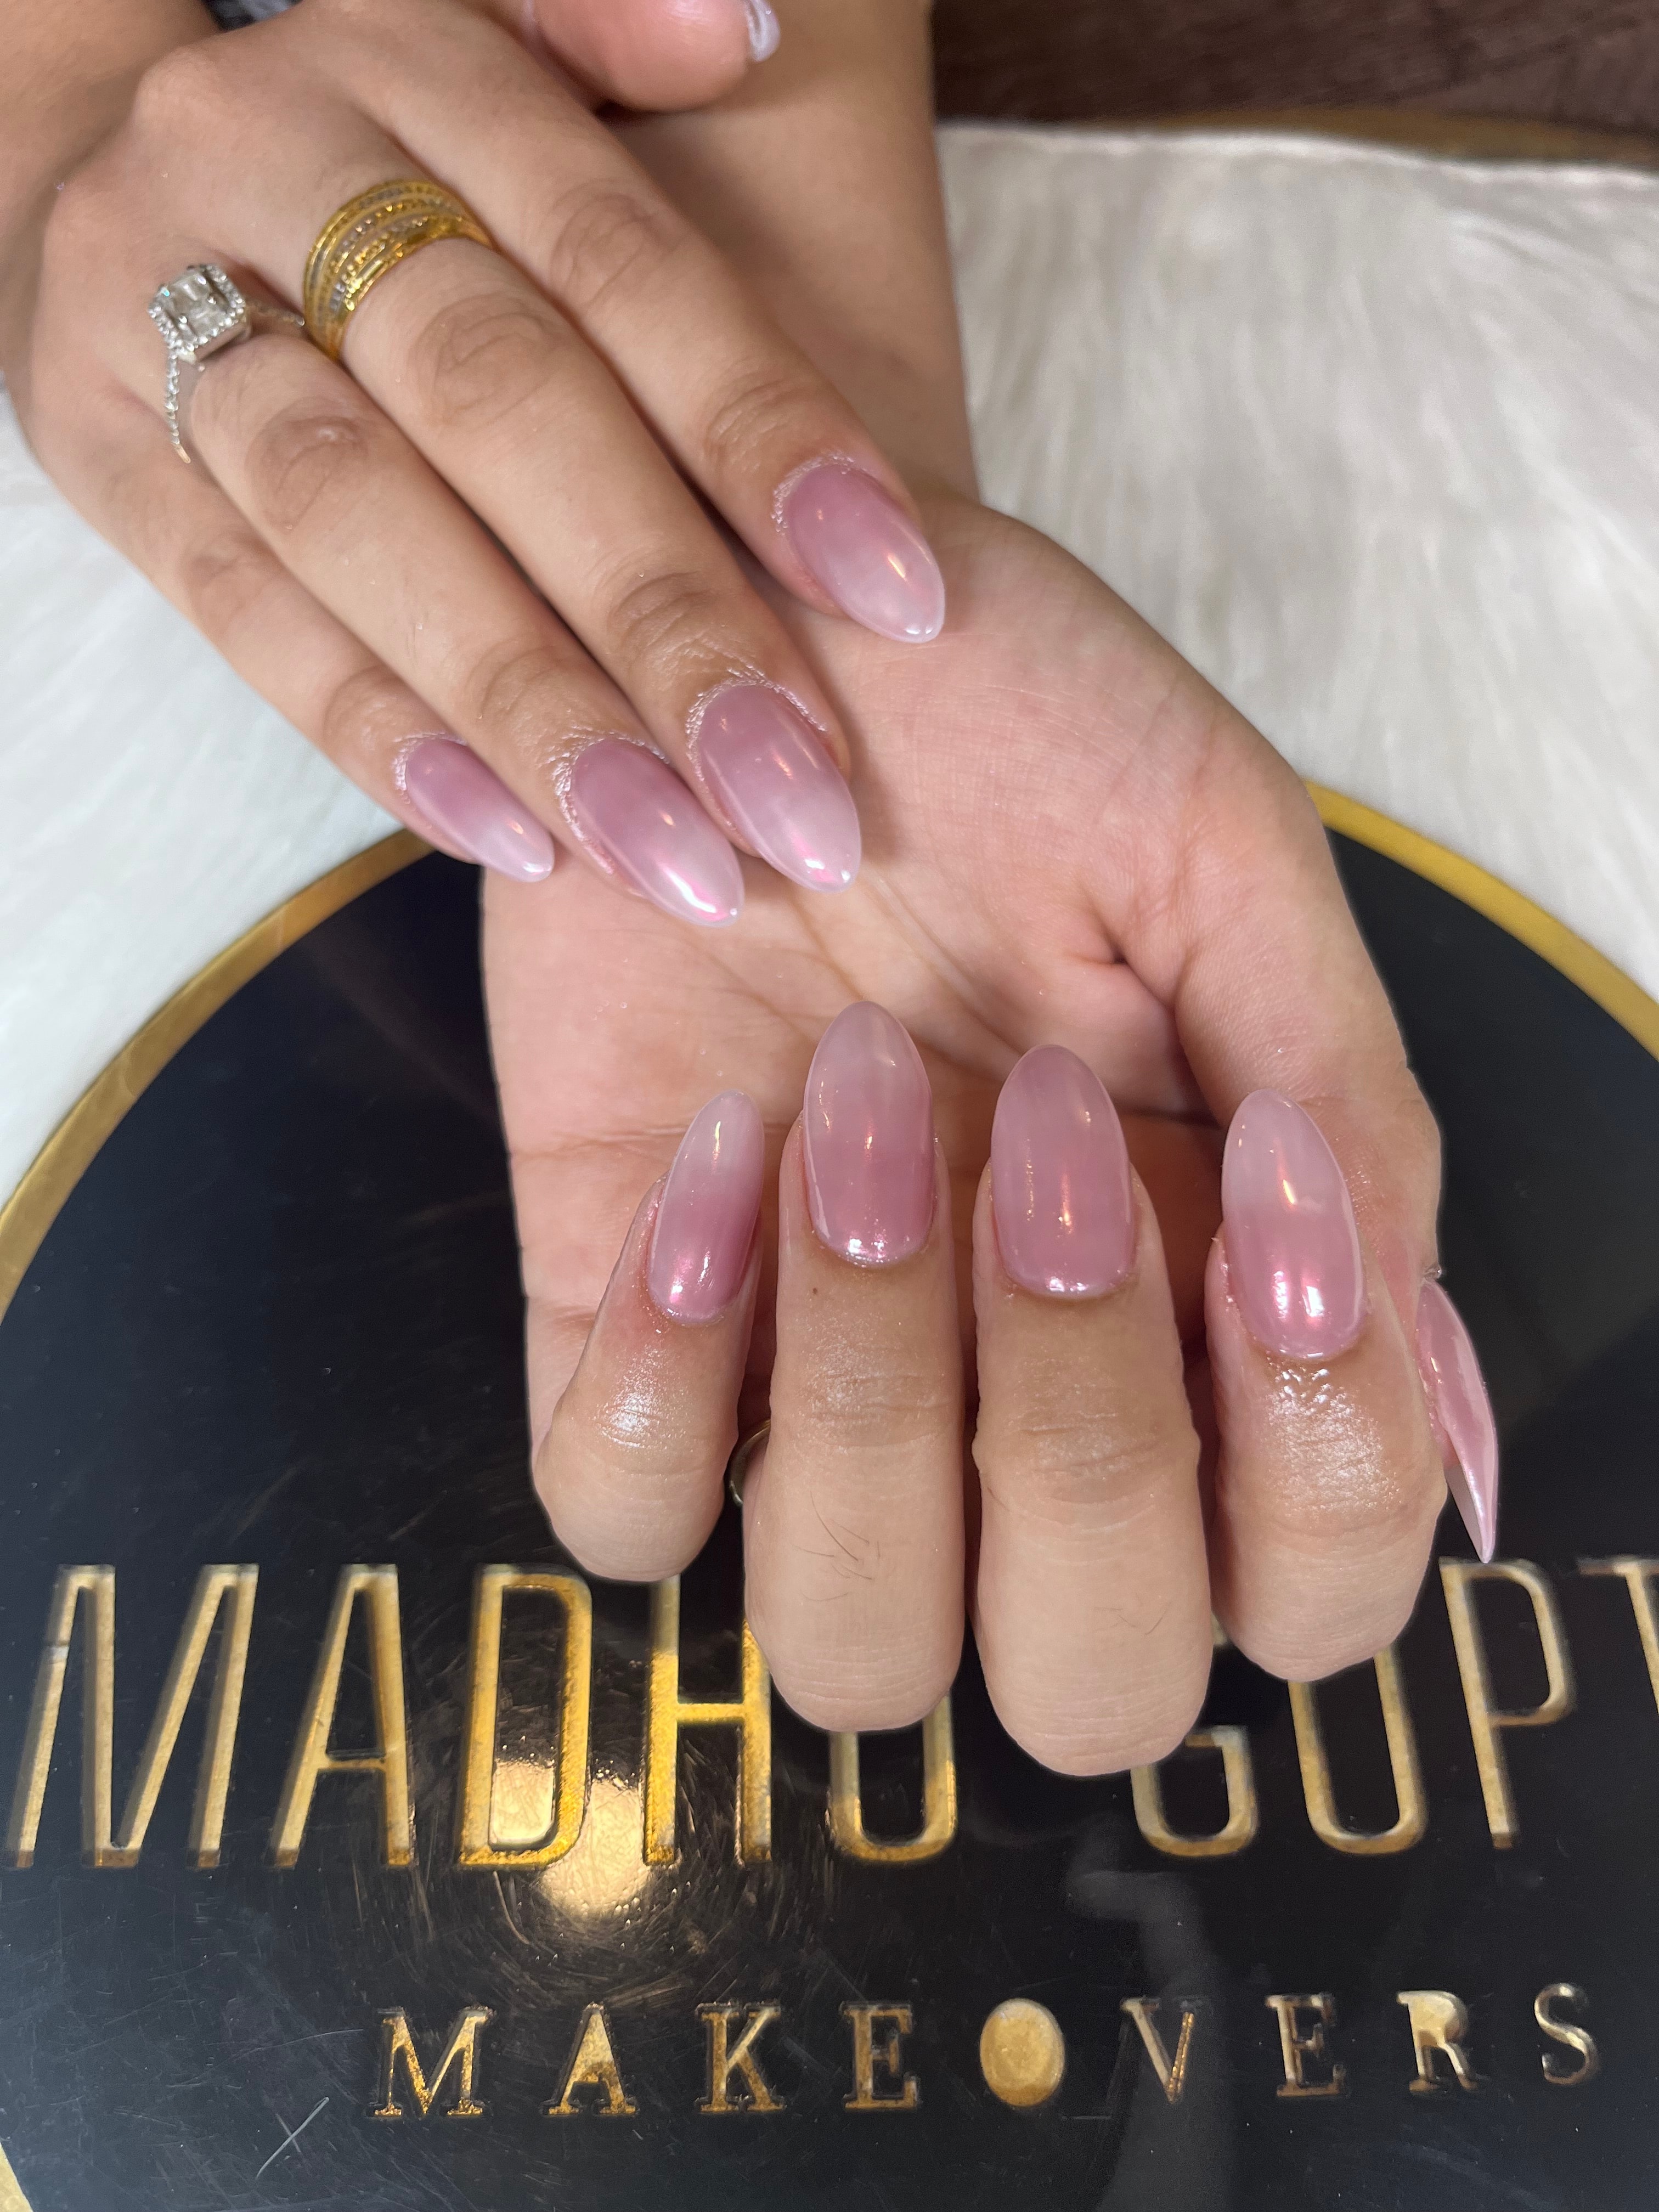
- Square, soft square, round, oval, almond, coffin (ballerina) and stiletto. Longer and pointed shapes need more structure.
Match the shape to the client's hands and lifestyle: short square or oval for daily work, almond or coffin for elegance, stiletto only with strong structure.
Module 7
Gel and polygel application
Gel is self-levelling and flexible, and nothing hardens until it is cured.
- Base
- Thin base gel on the prepped nail, cured.
- Builder
- A bead of builder gel floated from the cuticle area to the free edge to form the apex. Cure in sections if the brand advises.
- Polygel
- Pick up a portion, press and shape it with a brush dipped in slip solution, then cure.
- Shape and refine
- File the cured product to shape and wipe away dust.
- Colour and top coat
- Thin coats of colour, each cured, then top coat, cured. Wipe the sticky layer if the top coat leaves one.
Module 8
Acrylic application
Acrylic is strong and fast, and it rewards a consistent mix.
- Mix ratio
- Dip the brush in monomer, wipe, then draw a bead from the powder. A wet bead runs into the cuticle; a dry bead is lumpy and weak.
- Three-zone build
- Place a bead at the free edge, one at the stress area for the apex and a small thin bead near the cuticle, then press and smooth.
- Leave a gap
- Keep a hair's width from the cuticle and sidewalls so the product does not lift.
- Cure and shape
- Acrylic hardens in the air; tap it with the brush handle and it clicks when ready. Then file and refine.
- Finish
- Seal with a gel top coat cured under the lamp, or buff to a shine.
Module 9
Curing
Under-cured gel is the main cause of allergies, so curing is a safety step as well as a finish.
- Match lamp and product
- Every brand states its curing time and lamp type. LED lamps usually cure in 30–60 seconds; older UV lamps take longer.
- Position the hand
- Fingers flat and centred, thumbs cured separately so every nail gets full light.
- Heat spikes
- Some gels get hot as they cure. Cure for a few seconds, pause, then finish, or use a low-heat setting.
- Check the result
- A properly cured nail is hard all the way through. Soft or wrinkled gel needs more curing.
Module 10
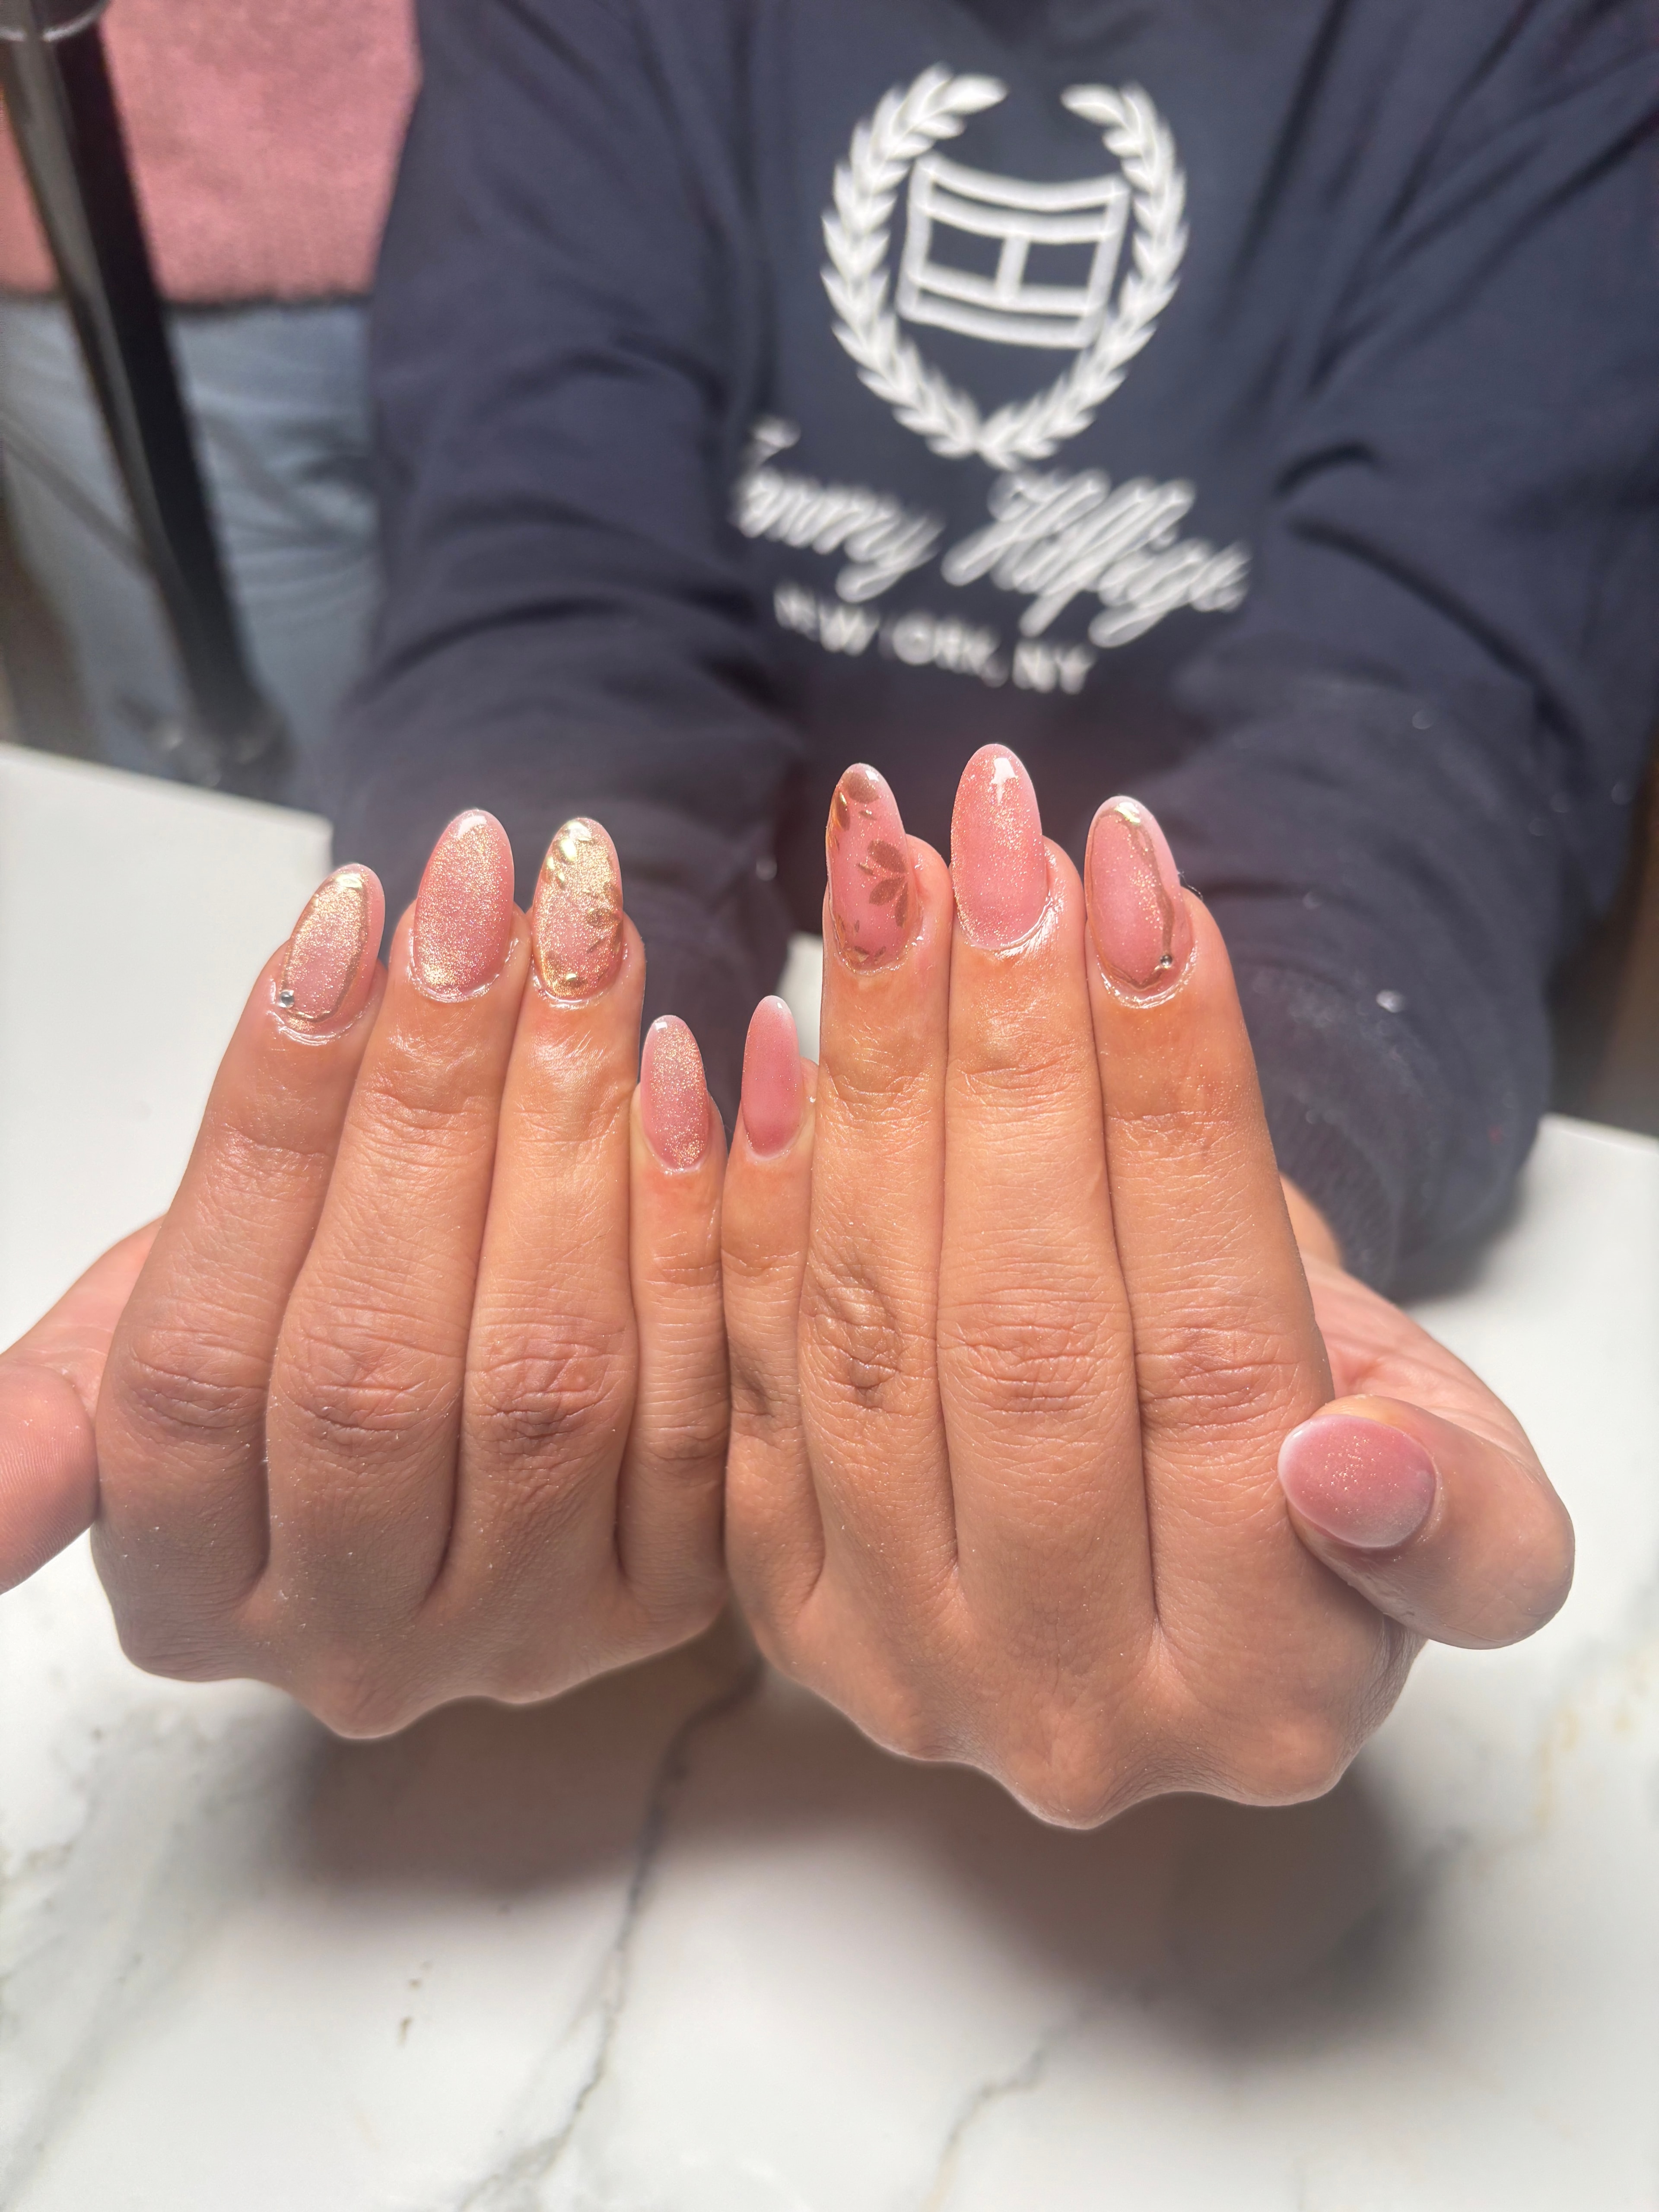
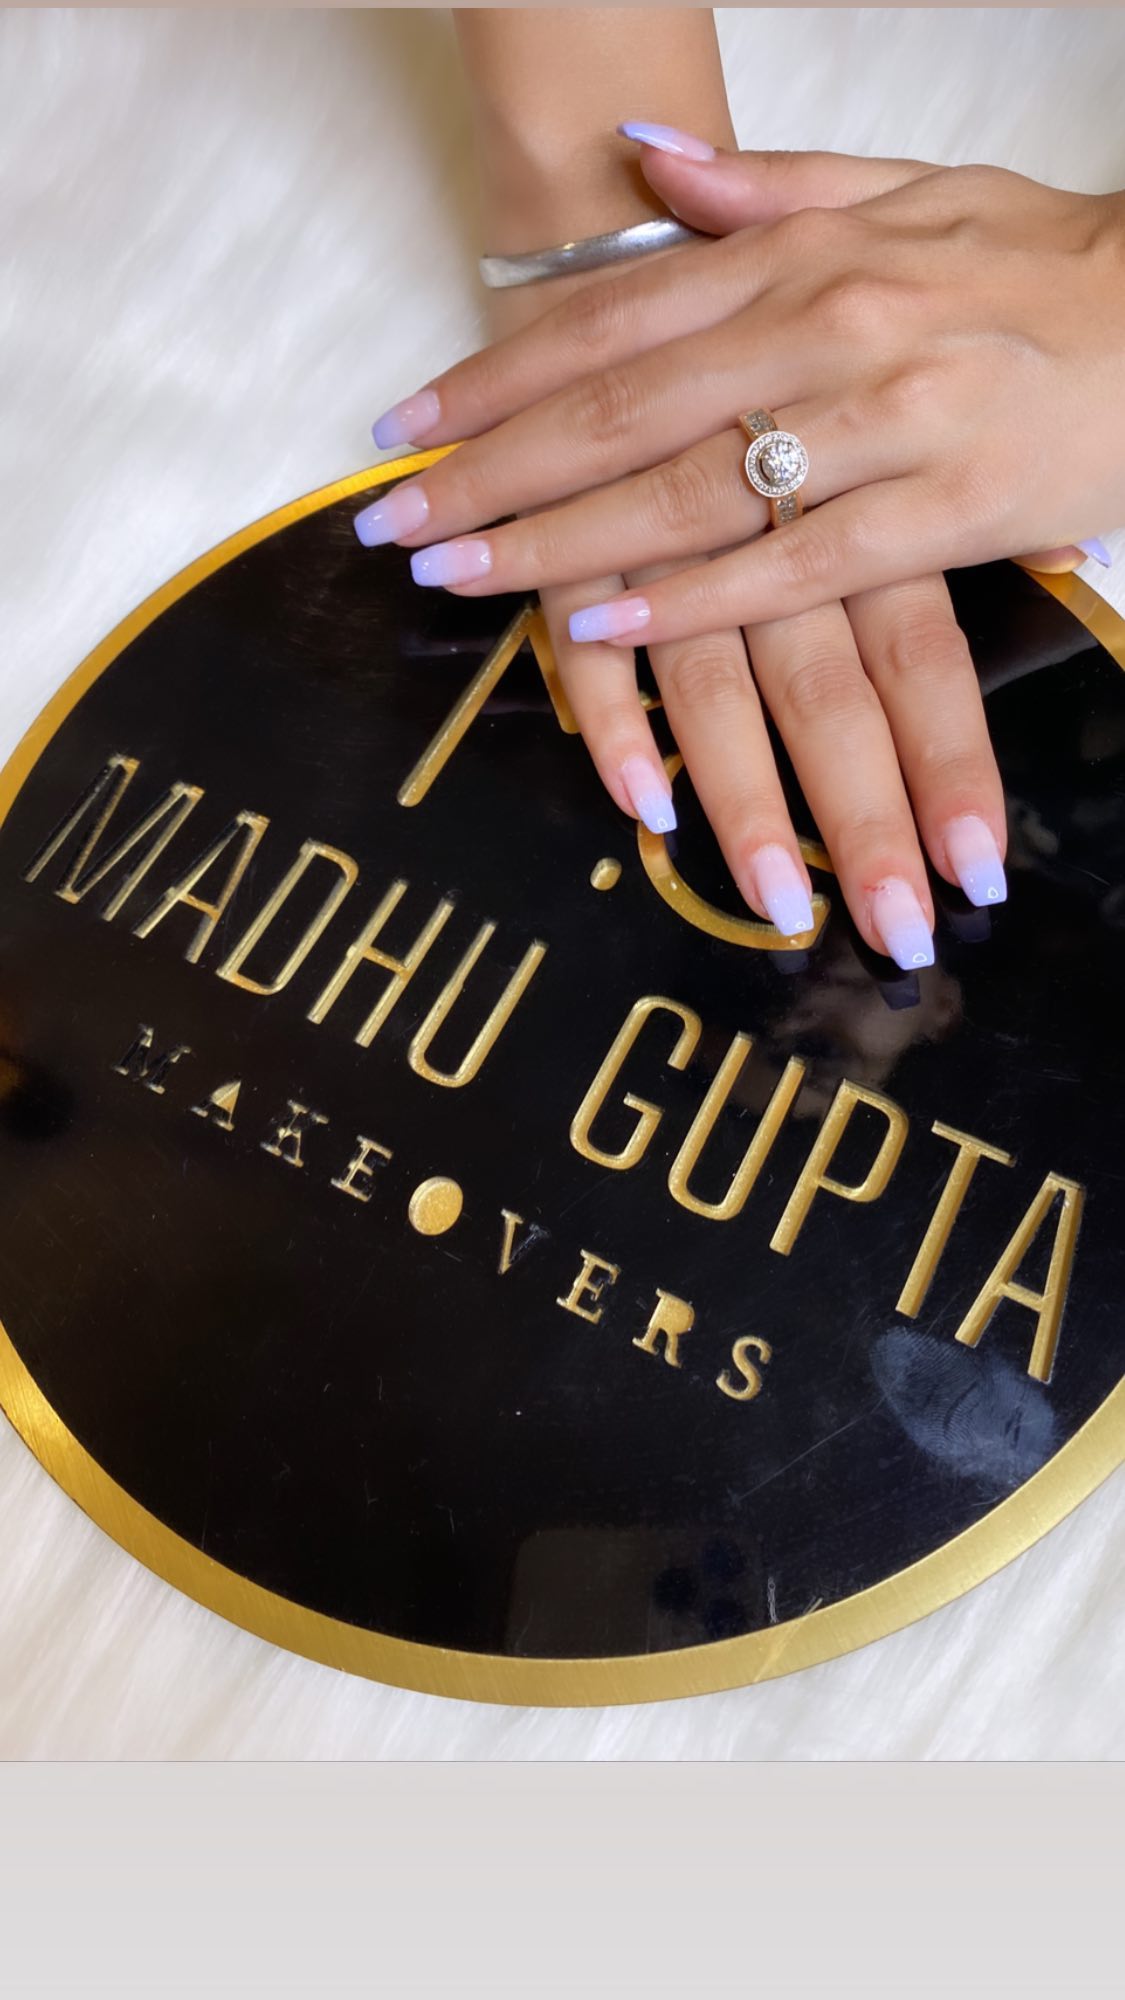
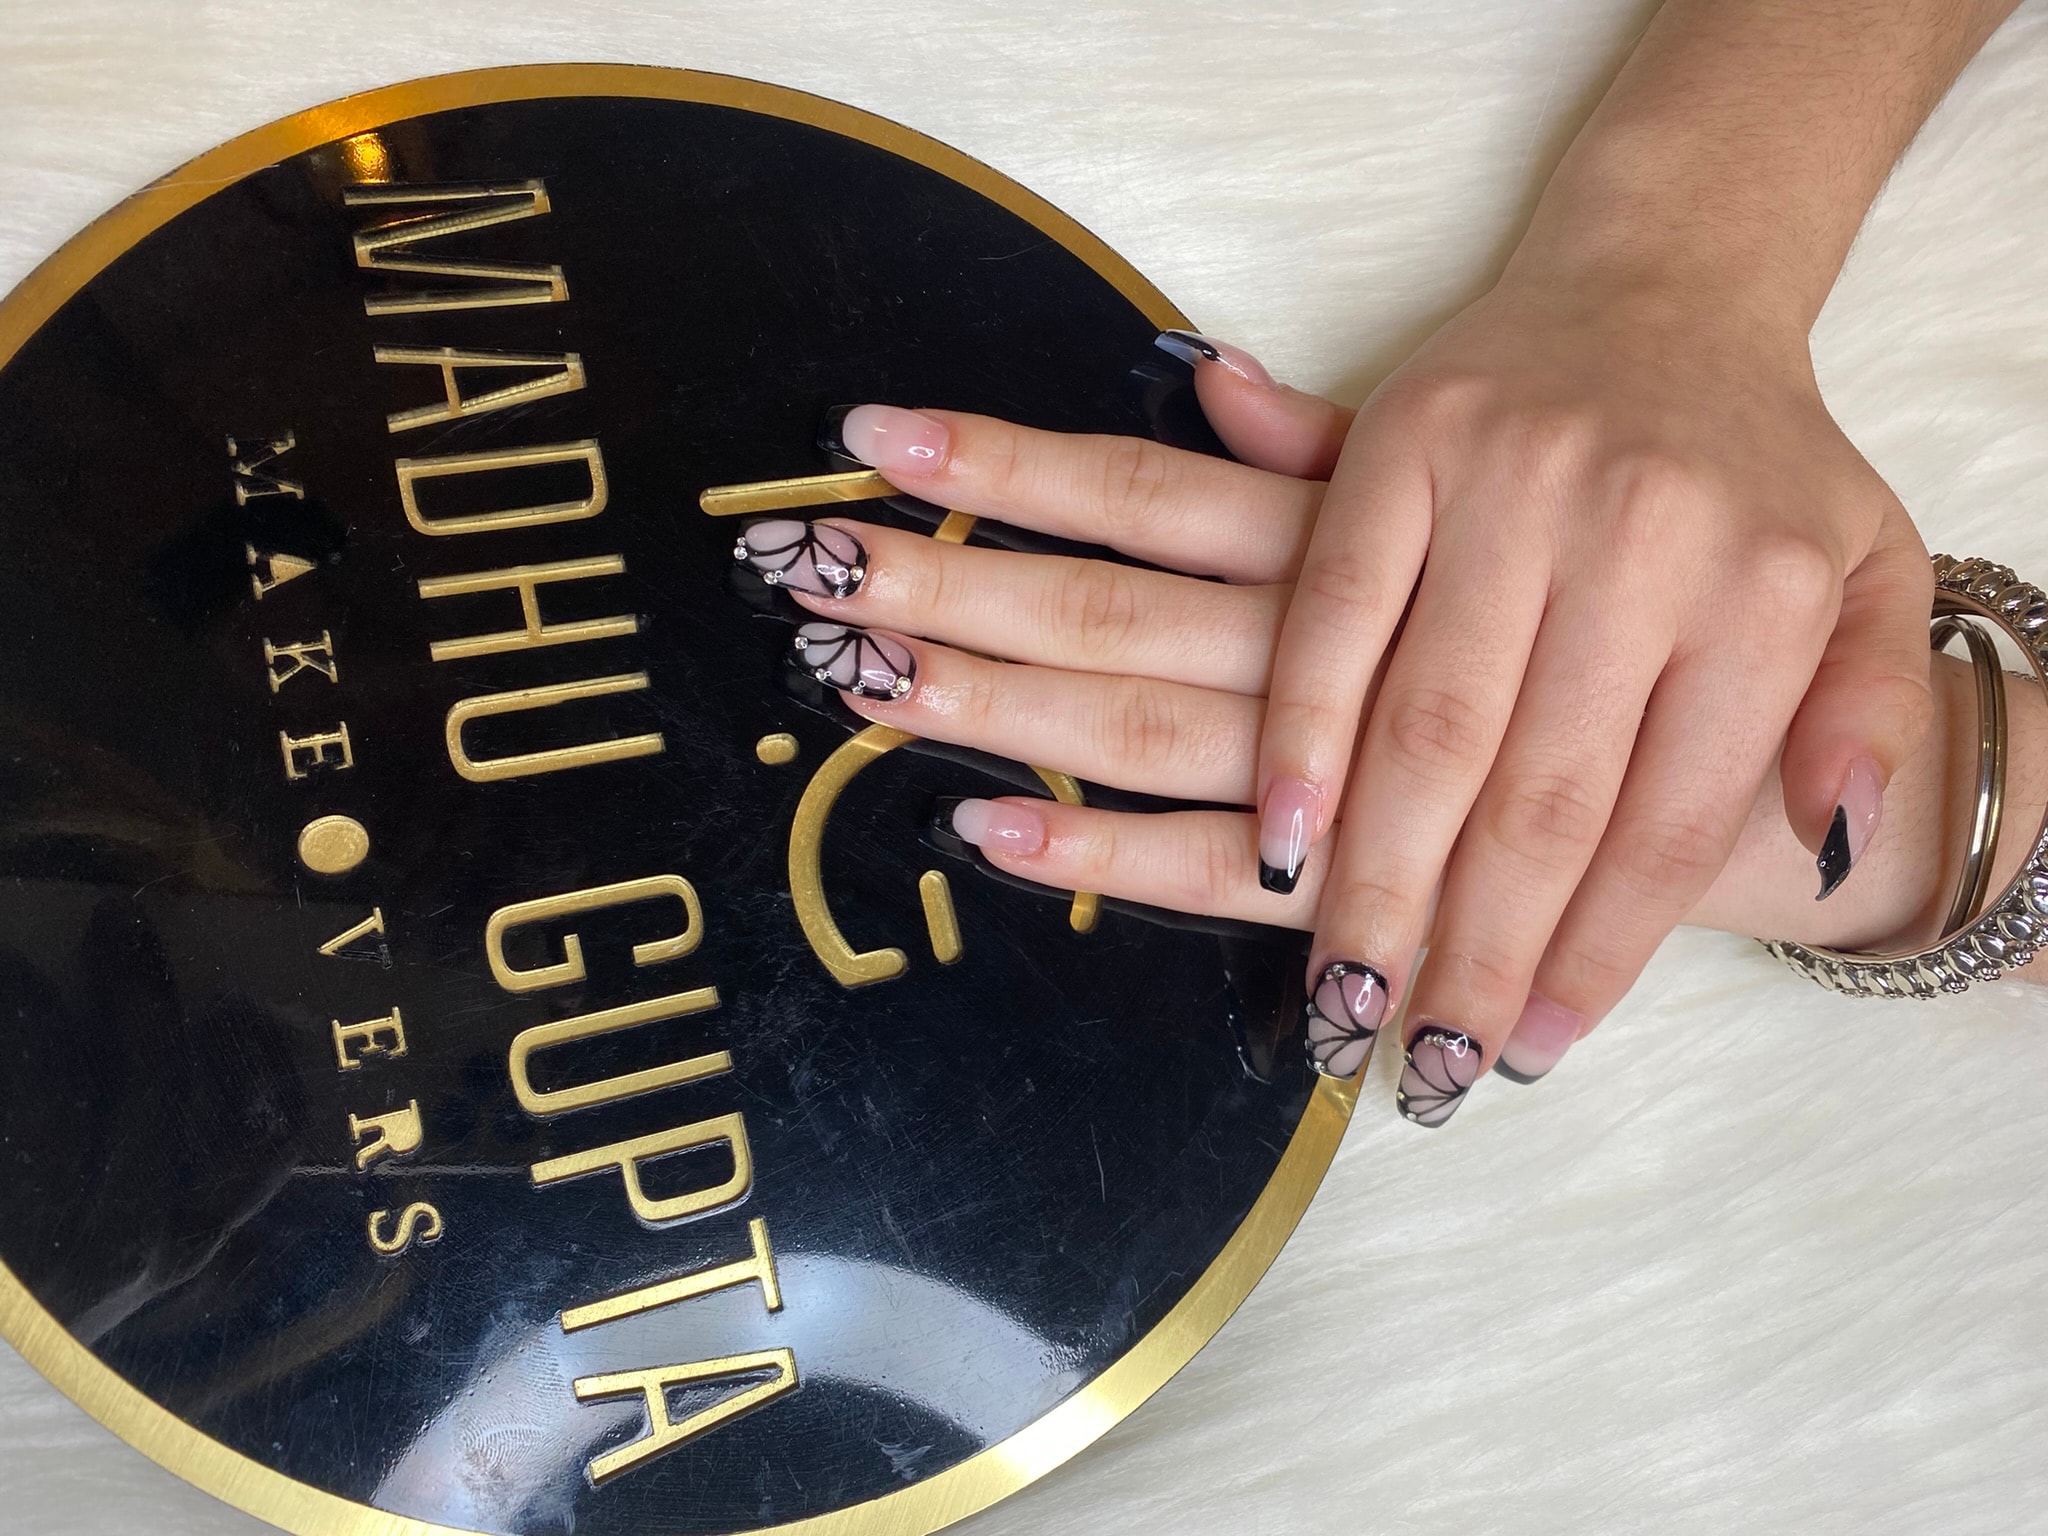
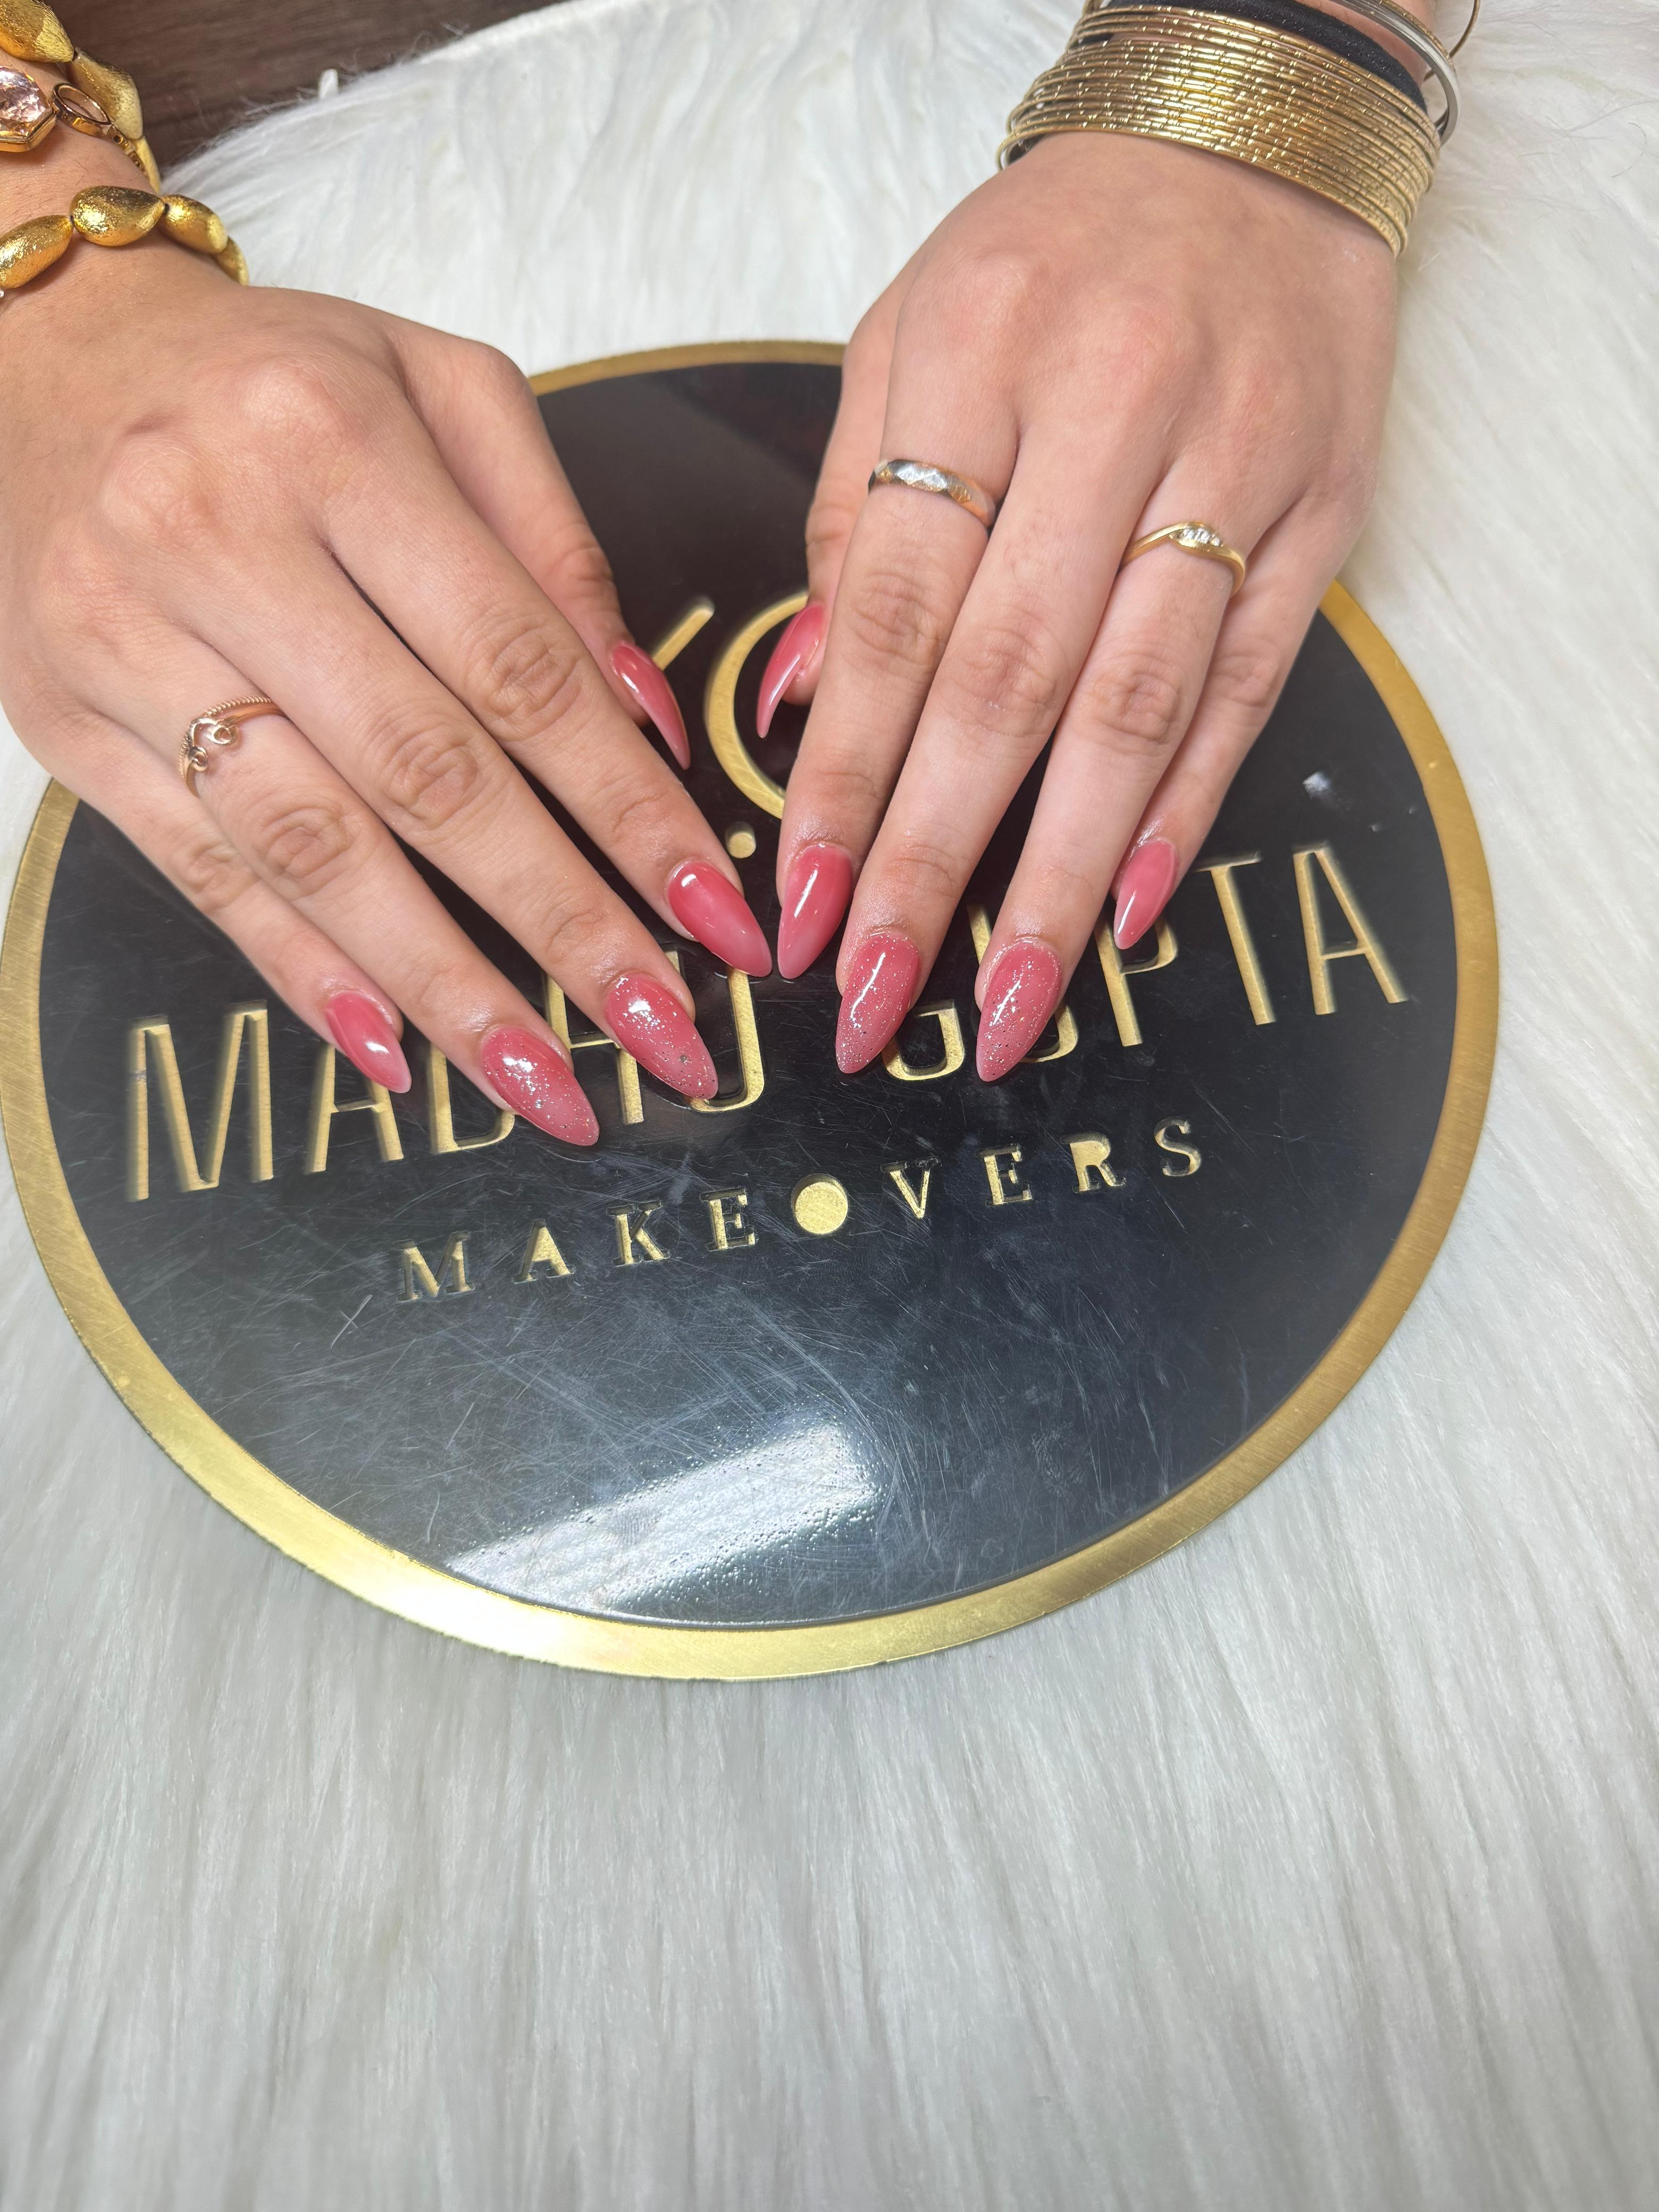
Nail art basics
Most paid nail art in salons is built from a handful of techniques.
- French
- A crisp white or coloured tip following the smile line, done freehand or with a guide.
- Ombre
- Two colours blended with a sponge, brush or powder for a soft fade.
- Chrome
- A mirror powder rubbed into a cured, no-wipe top coat.
- Cat eye
- Magnetic gel moved with a magnet to create a band of light.
- Foil, glitter and stones
- Set into gel and sealed with top coat so nothing catches.
- Freehand and 3D
- Brushwork, florals and sculpted 3D gel or acrylic. This is where artists earn premium rates.
Module 11
Safety and hygiene
Clients come back to technicians they trust. These are non-negotiable.
- Use EMA, not MMA
- Professional acrylic liquid is EMA-based. Cheap MMA monomer bonds too hard, damages the natural nail and is banned in many countries.
- Keep gel off the skin
- Repeated skin contact with uncured gel can cause a lifelong allergy to acrylates (HEMA). Clean up spills before curing and never touch uncured gel.
- Ventilation and dust
- Work in a ventilated space and use dust extraction or a mask when filing.
- Clean tools
- Disinfect metal tools between clients and use files and buffers once, or give them to the client.
- Know when not to work
- Do not apply product over fungal infections, broken or inflamed skin, or a nail lifting from the bed. Refer the client to a doctor.
- Safe removal
- Soak off or file down. Never pry or rip enhancements off.
Module 12
Troubleshooting
Every technician meets these problems; good ones know the cause.
- Lifting at the cuticle
- Cuticle left on the plate, oily prep or product touching the skin.
- Breaking at the stress area
- No apex or a thin build where the nail leaves the finger.
- Bubbles
- Overworked product, a dry acrylic bead or glue flooding the well.
- Yellowing
- Old or over-cured gel, a top coat without UV filters, or smoke and staining.
- Heat or burning in the lamp
- Too much gel cured at once. Use thinner layers and pause during curing.
Careers and earnings
Pay depends on your city, your speed and the art you can offer. As a real example, MG Makeovers' current nail artist vacancy in Gurugram offers ₹18,000 a month onwards plus incentives. Technicians who master French, chrome, cat eye and freehand art can charge more per set, and many add freelance or bridal bookings.
From theory to practice
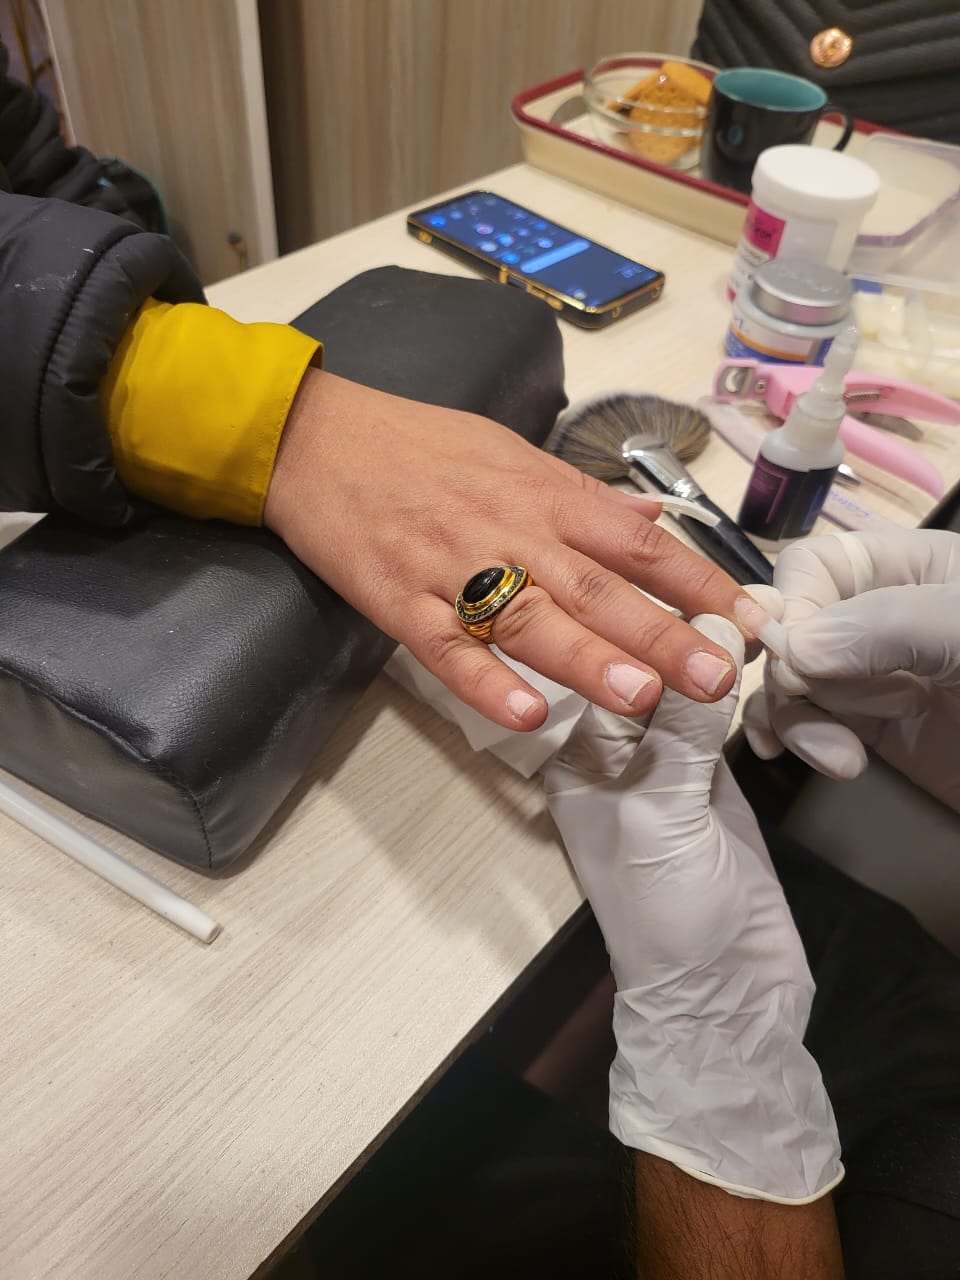
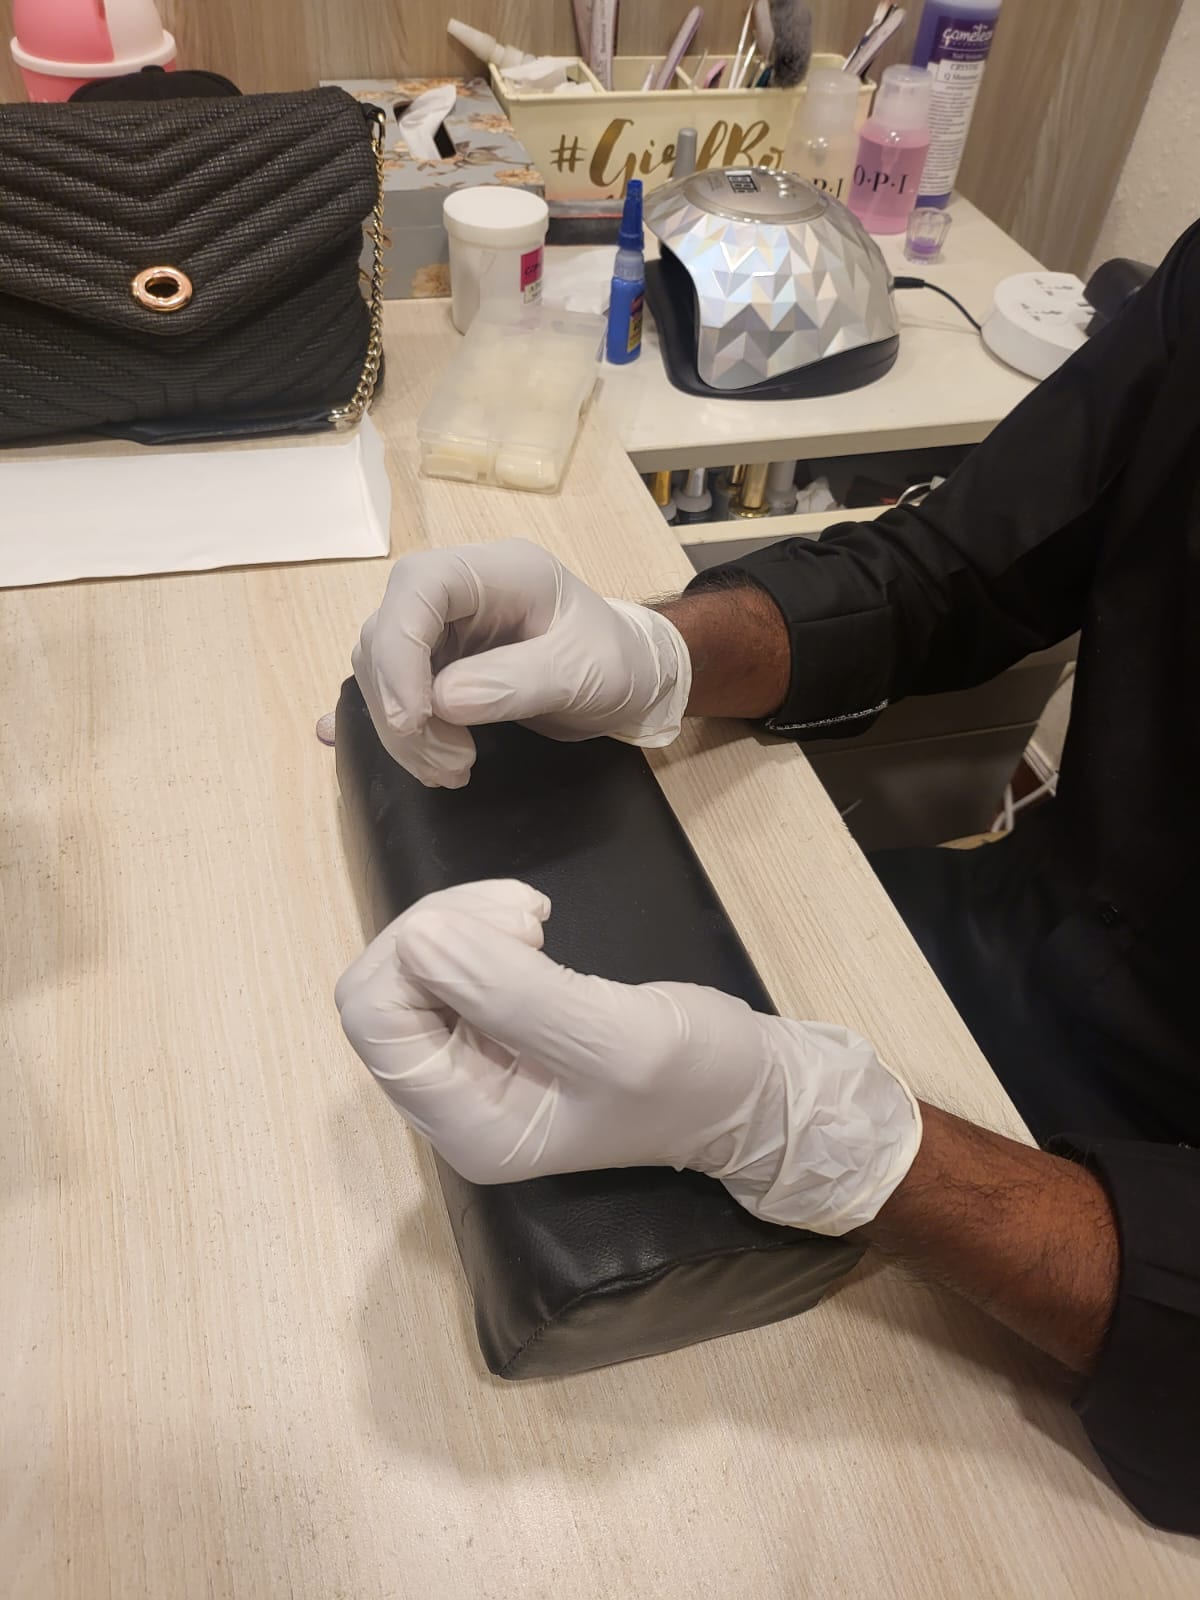
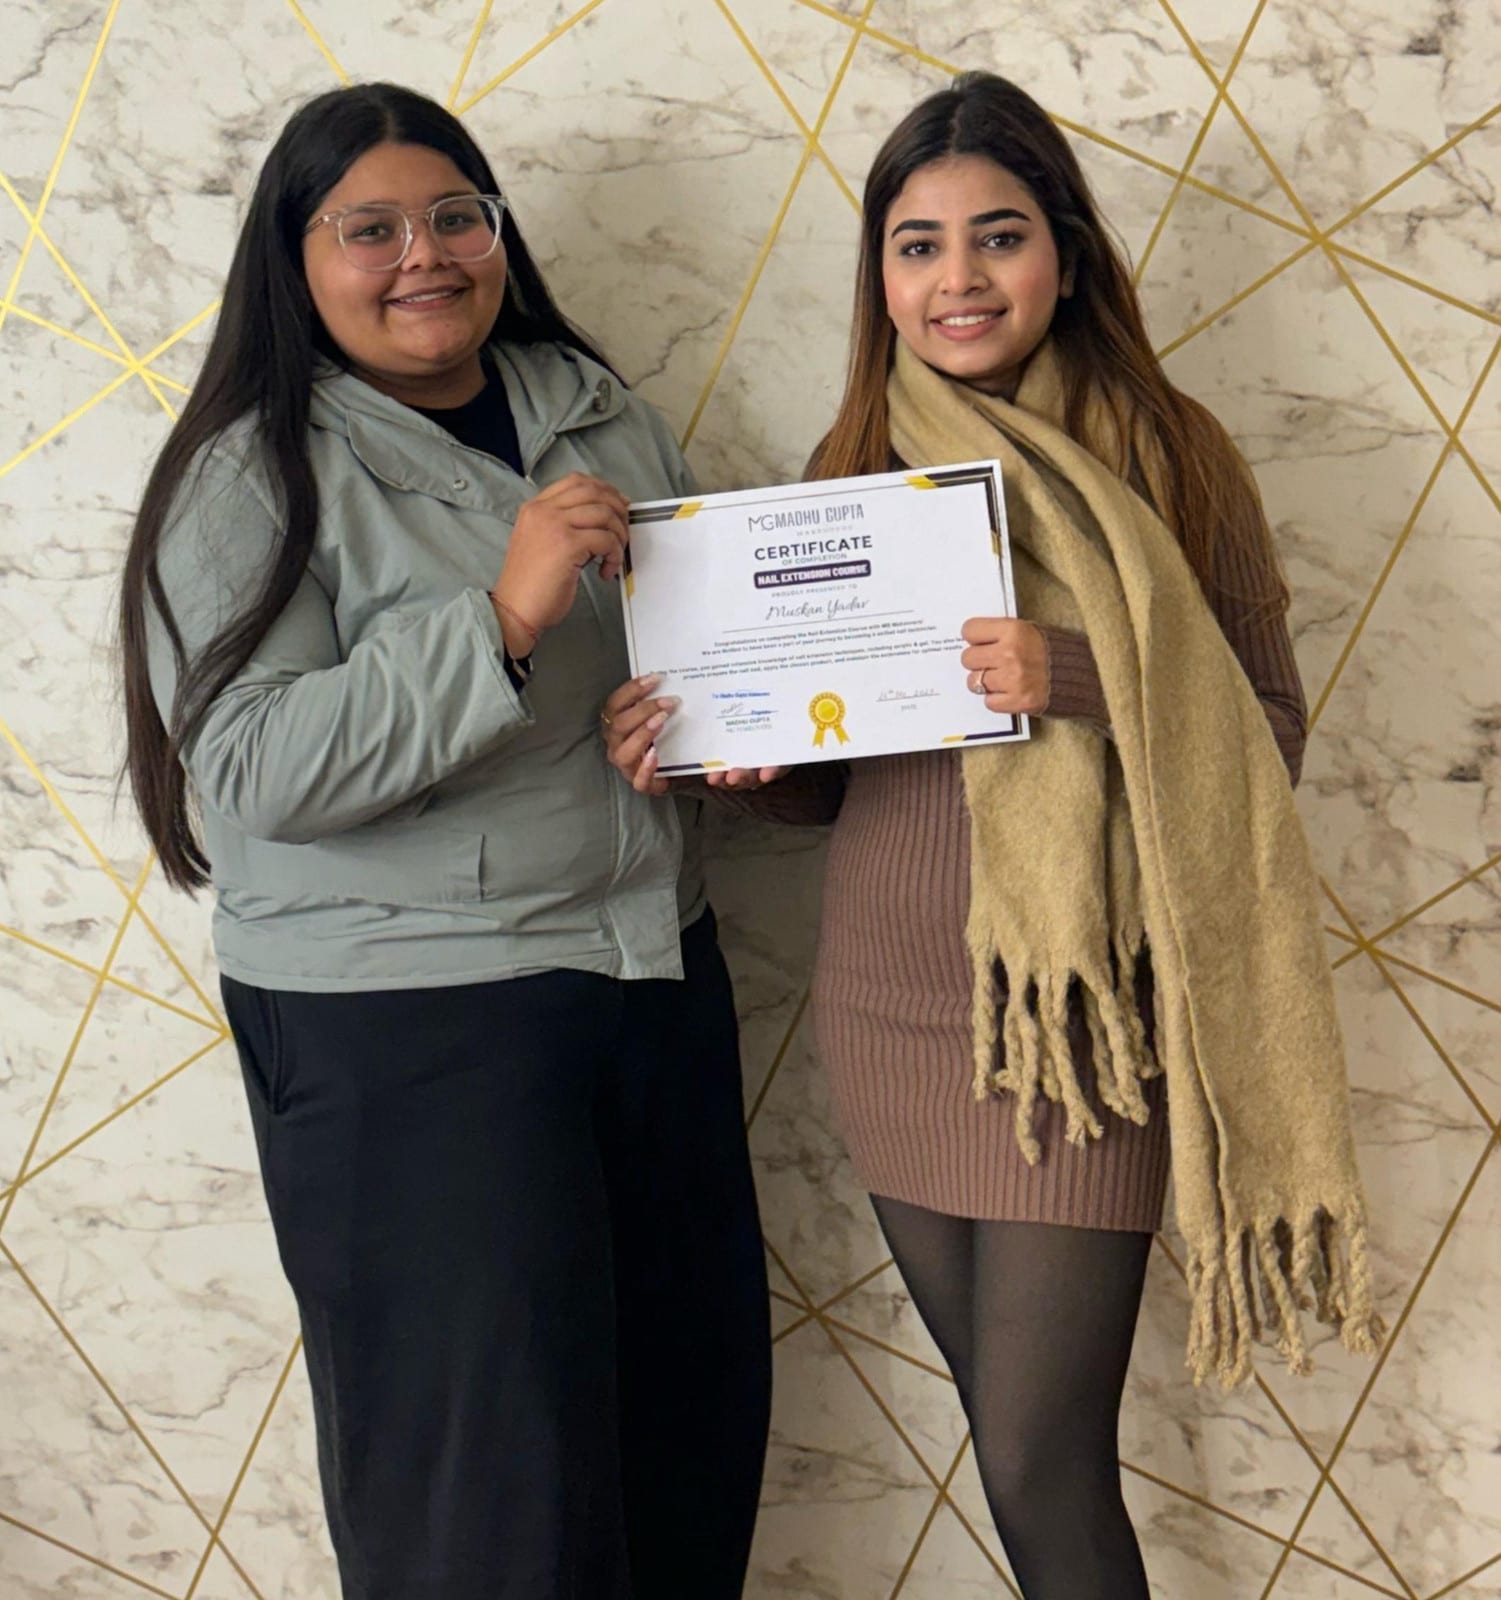
The MG Makeovers Academy teaches these modules hands-on, on live models, in a working Gurugram studio.
Basic Nail Extension & Art
14 – 15 days · ₹14,999
- Nail anatomy, shapes, preparation and hygiene
- Gel and acrylic extensions, overlays and refills
- French, glitter, foil, chrome, marble and brush art
- Shaping, finishing, maintenance and safe removal
- Client consultation and permanent nail colour basics
Advance Nail Extension & Art
21 days minimum · ₹24,999
- Everything in Basic, plus 3D art, spider gel and bridal looks
- Cat eye, chrome variations, animal print and theme art
- Embellishments, nail jewellery and portfolio support
Nail course questions, answered
Can I learn nail extensions online for free?
You can learn the theory free online, which is what this course covers. Doing safe, salon-standard sets needs supervised practice on hands, because prep, product control and structure are learnt by doing.
How long does a practical nail extension course take?
At MG Makeovers Academy the Basic Nail Extension & Art course runs 14 – 15 days and the Advance course 21 days minimum.
How much does a nail extension course cost at MG Makeovers?
The Basic course is ₹14,999 and the Advance course is ₹24,999, with live-model practice and a certificate.
How much can a nail technician earn in India?
Pay depends on city, skill and the salon. As one example, MG Makeovers' current nail artist vacancy in Gurugram offers ₹18,000 a month onwards plus incentives. Technicians who master advanced art can charge more per set, and many also work freelance.
Which is easier to learn first, gel or acrylic?
Many students find gel easier at first because it does not set until cured, so there is time to correct it. Acrylic needs a steady mix and faster hands, but builds very strong sets. A good course teaches both.
Is nail extension work safe?
Yes, when you use professional EMA acrylic, keep gel off the skin, cure fully, ventilate the room and clean tools between clients. Module 11 covers these rules.